
The Weekend Warrior:
Fix That Leaky P-Trap
Skip the $200 plumber bill with this 15-minute DIY fix.
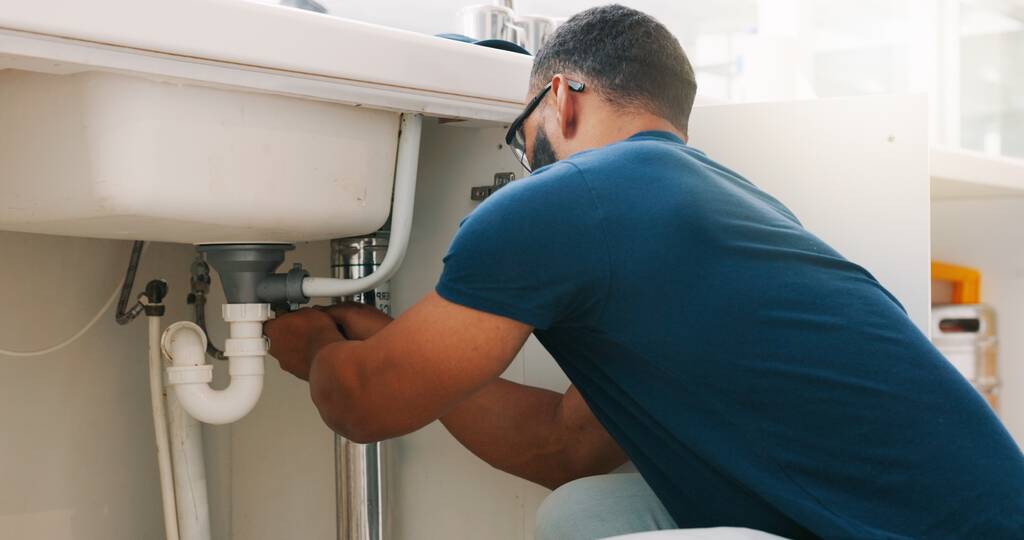
It starts with a small puddle under the bathroom vanity and ends with a ruined cabinet base. A leaking P-Trap (the U-shaped pipe under your sink) is one of the most common issues found during home inspections, but it's also one of the easiest for a homeowner to tackle.
Bucket
Pliers
Trap Kit
Dry Rag
The Step-By-Step Guide
Clear the Zone
Place your bucket directly under the U-bend. Pro Tip: There is always water sitting in the trap to block sewer gases—be ready for the splash!
Loosen the Slip Nuts
Most modern P-traps are hand-tightened. If they're stuck, use pliers gently. Unscrew the nut at the wall and the nut under the drain.
Align & Seal
Slide the new washers on. Crucial: The pointed (beveled) end of the washer must face the joint to create the seal.
Tighten & Test
Hand-tighten only to avoid stripping the plastic threads. Run the water for 60 seconds to check for drips.
A clean, properly installed P-trap prevents leaks and sewer odors.
💡 Note from the Inspector: While the pipe is off, check for "slow drain" gunk. Cleaning it now prevents a major clog next month!
Concerned About Moisture?
A leaky pipe can hide mold or structural rot. Get a professional thermal evaluation today.
Schedule My Inspection