Many homeowners mistakenly believe that older windows in poor condition must be replaced entirely. However, as long as the window frame is structurally sound, most common issues can be repaired, extending the window’s lifespan significantly. While some severe damage, such as extensive rot or termite infestation, necessitates replacement, many less severe problems can be fixed with minimal time and expense. This guide will cover five practical window repairs that any DIY enthusiast can tackle with basic carpentry skills, a few tools, and a little time.
1. Block Out Drafts
Drafty windows are a primary drawback of older installations, allowing cold air to enter during winter and cooled air to escape in summer. To seal these leaks effectively:
Caulk the Exterior: Start by applying caulk around the exterior window frame where it meets the siding or trim. Look for gaps and clean them of debris using a stiff-bristle brush and putty knife.
Smooth the Caulk: Use acrylic-latex siliconized caulk to fill the gaps. After overfilling a bit, smooth the caulk bead with a wet finger.
Add Weatherstripping: Install weatherstripping around the inside of the window, focusing on the sides, sill, and meeting rail. Ensure it’s thick enough to fill gaps but still allows for smooth operation of the window.
Sealing the deal! A worker carefully applies caulking to a window frame for a weatherproof finish.
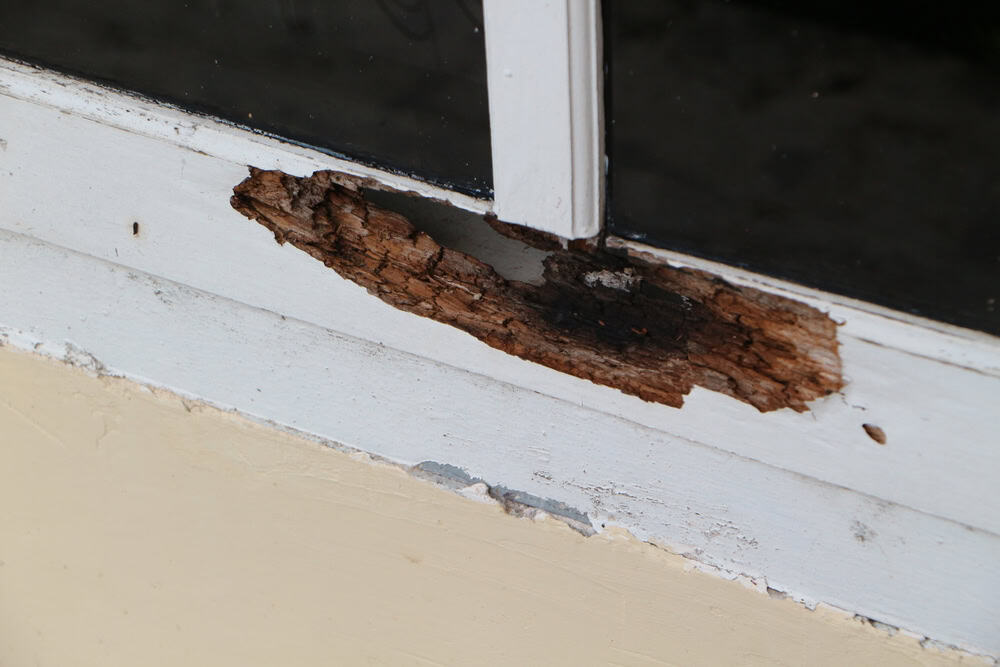
2. Repair Rotted Wood
Wood windows are susceptible to rot from moisture, which can lead to more extensive damage if not addressed promptly. Here’s how to repair rotted wood:
Remove Rotted Wood: Use a sharp chisel to carefully carve away all rotted wood until you reach sound, solid wood. Leaving decayed wood will allow rot to continue.
Apply Epoxy Wood Filler: Mix two-part epoxy wood filler according to the manufacturer’s instructions and apply it with a flexible-blade putty knife. For deep repairs, fill halfway, let it harden, and then apply a second layer.
Sand and Paint: Once cured, sand the area smooth with 80-grit sandpaper, clean the dust with a damp cloth, and prime the area. Finish with two top coats of paint for protection.
Severe wood rot eating away at an old window frame—time for repairs!
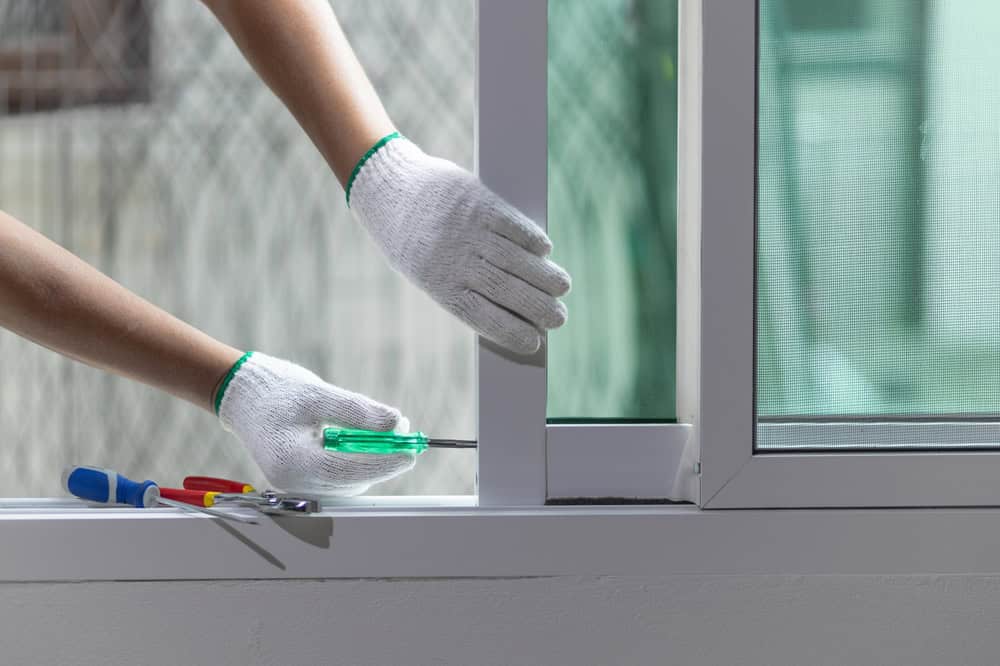
3. Unstick Stubborn Sashes
Windows can become difficult to open due to stuck sashes, usually caused by a malfunctioning counterbalance mechanism or paint sealing them shut. Here’s how to remedy this issue:
Check the Counterbalance: If the counterbalance mechanism is broken, replace it. Start by removing the sash, prying out old counterbalances, and fastening new ones according to the manufacturer’s guidelines.
Remove Paint Seals: If the sash is painted shut, use a utility knife to cut through the paint seal along the stops and sill. Insert a stiff-putty knife along the perimeter and gently lift the sash. If it still won’t budge, remove the interior stops to free it.
Reinstall Stops: After freeing the sash, you can reinstall the old stops or replace them as needed.
Fixing the window frame with precision and care.
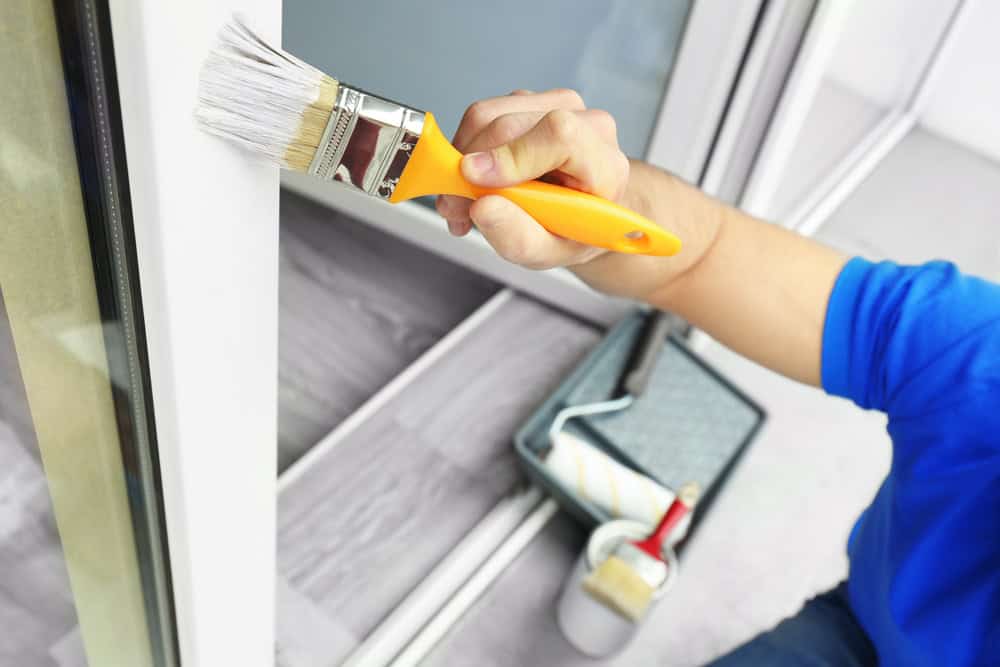
4. Refinish the Exterior
A protective coat of paint is essential for maintaining wood window frames. When paint begins to peel or crack, it’s vital to refurbish surfaces to prevent rot:
Remove Loose Paint: Use a tungsten-carbide scraper and wire brush to take off loose or blistered paint without gouging the wood.
Sand the Surface: Lightly sand with 100-grit sandpaper, feathering the edges to blend with existing paint. Repair any cracks or holes with two-part epoxy filler, smooth out after curing, and sand.
Prime and Paint: Apply one coat of exterior-grade primer and two coats of high-quality house paint. Regular inspections, especially of south-facing windows, are recommended to catch peeling paint early.
Painting the door frame with precision and care.
5. Fix Busted Sash Cords
Older windows often use a system of sash weights and cords instead of modern counterbalances. If these cords break, the weights fall into the wall, complicating window operation. Here’s how to fix it:
Access the Weights: Pry off the window stops and remove the bottom sash. Take out the parting bead to access the top sash, and remove it as well.
Replace the Cords: Fish out the sash weights and remove the broken cords. Thread new cords through the pulleys and tie them to the weights before returning them to the wall cavity.
Reinstall Sashes: Secure the cords to each side of the top sash, reinstall it, put back the parting bead, and repeat for the bottom sash. Finally, reattach the window stops to complete the repair.