How to Fix a Leaking Valve: Adjust the Packing Nut
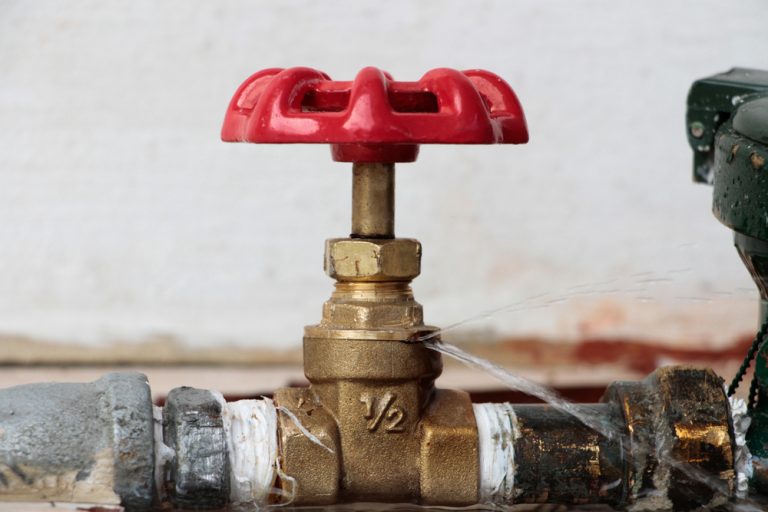
Leaking brass water valve with red handle shows signs of wear and pressure, highlighting urgent need for maintenance.
If you notice a drip coming from the body of a valve — like the small globe valve for an outdoor hose bib or a needle valve for an icemaker or humidifier — it’s likely time to adjust the packing nut. Ignoring the drip can lead to bigger problems, like mineral deposits building up, ruining the valve over time, or water spilling onto floors if your “temporary fix” overflows.
What is a Packing Nut?
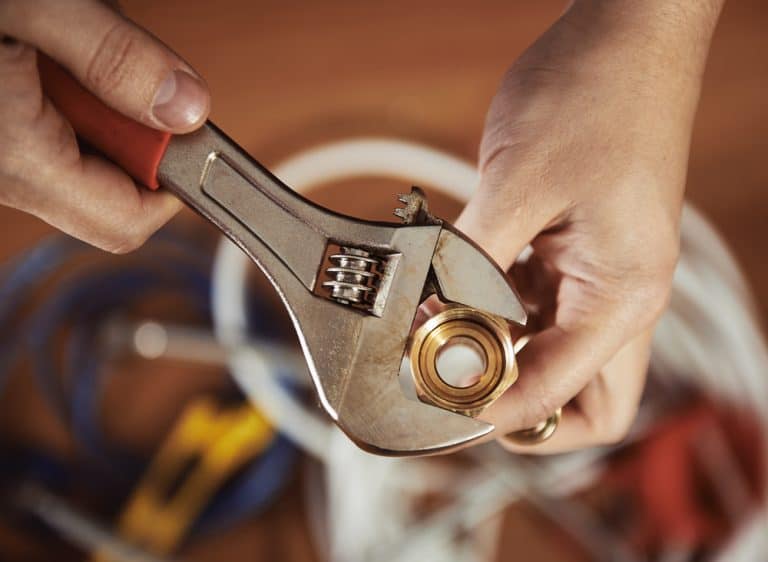
Hand using wrench on plumbing fitting.
The packing nut is a small hexagonal nut located where the valve stem exits the valve body and is turned by the valve handle. Most valves, including globe, gate, and needle valves, have this mechanism. Below the packing nut is a flexible packing material that seals the valve stem to prevent leaks.
Why Do Valves Leak?
A close-up of a white-painted pipe connected to a radiator with a brass fitting.
Over time, the packing material can:
Loosen due to regular use.
Wear out due to age or pressure, causing water to seep through the valve stem.
Drips from the valve are most commonly caused by:
A loose packing nut.
Worn packing material around the valve stem.
How to Fix a Dripping Valve
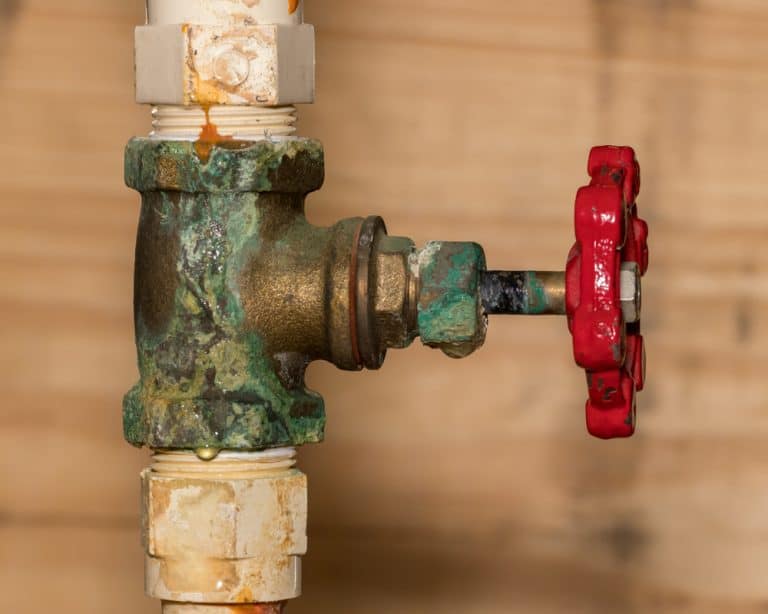
Corroded brass valve with a red handle and signs of leakage, highlighting the effects of oxidation and wear on plumbing.
Locate the Packing Nut:
Inspect the valve stem where it exits the valve body. The small hex nut closest to the body is the packing nut.
Tighten the Packing Nut:
Use an adjustable wrench or pliers to tighten the nut slightly.
Turn the nut gently, about 1/8 or 1/4 turn at a time, to compress the packing material around the stem.
Over-tightening can make the valve handle harder to turn, so tighten just enough to stop the drip.
Test the Valve:
Turn the valve handle on and off to see if the leak stops.
If the Leak Persists:
You may need to replace the packing material inside the valve. This usually involves dismantling the valve, which can be challenging and is often a job best left to a professional plumber.
Another benefit is knowing if your house has any problems that could have been missed during construction. Your home inspector might find water infiltration, mold or mildew, or mineral deposits in your foundation and basement walls that were missed during construction. These discoveries can prevent you from wasting time and money later on down the line when these problems start showing up unexpectedly.
Why You Should Act Quickly
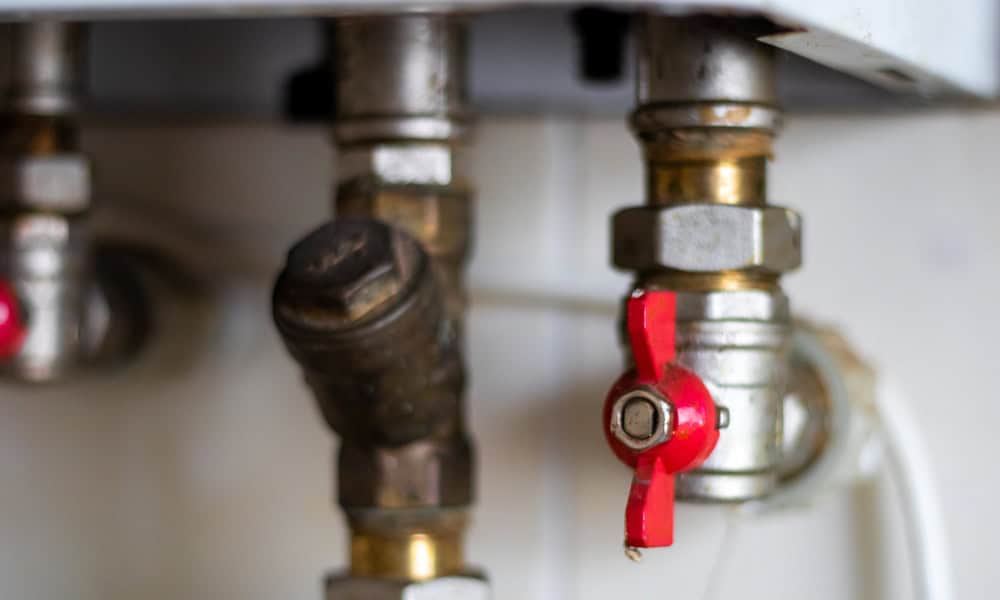
Close-up of metal water heater valves with a prominent red shut-off lever.
Allowing a valve to keep dripping will:
Lead to deposits or scaling around the valve stem, making it harder to operate or repair.
Eventually ruin the valve, requiring a full replacement rather than a simple fix.
The longer you wait, the more expensive and time-consuming the repair is likely to become.
Another risk is that the inspection may identify serious problems with the house, such as lead paint or asbestos. If there is anything like this present, your buyer will likely walk away from the purchase if they find it out before they move in.
Risks aside, there are many benefits to having a home inspection of your property. Of course it will give potential buyers peace of mind so they don’t have to worry about any hidden problems when moving into their new home — but it will also give them insight and understanding into what kind of work needs to be done and what maintenance they can expect after purchasing the home.
Key Takeaways for Leaking Valves
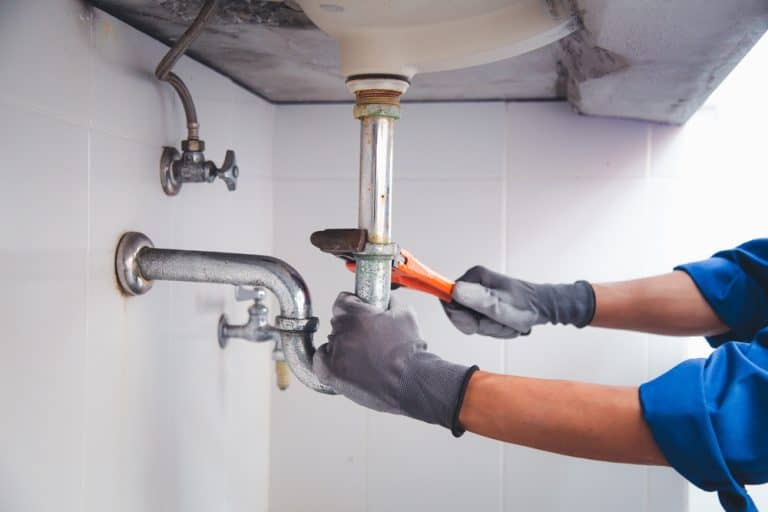
Plumber at work fixing a leaky pipe under a sink with a wrench.
Tighten the Packing Nut First: A simple adjustment is often enough to stop a valve from leaking.
Don’t Over-Tighten: Excessive tightening can make the valve handle difficult to turn.
Replace Packing if Necessary: If tightening doesn’t solve the issue, replace the packing material or consult a plumber.
Prevent Damage: Address leaks promptly to avoid valve damage and messy buildup.
With just a quick adjustment of the packing nut, you can often prevent a minor valve leak from becoming a costly repair or replacement job.
If you decide to hire a professional inspector (pending your budget), expect to spend between $300-600, depending on where you live and the size of the property. Generally speaking, a “home inspection” will cover structural items like foundation, roofing and electrical issues as well as mechanical items like appliances and heating systems. Because this is such a wide range (from basic inspections to more extensive inspections), it’s hard to say whether or not an inspection is worth it for you. This decision should be made after weighing the benefits against risks; this article has a list of things that people could find during inspections that’ll help make up your mind.